
Newest Recipes
All
Breakfast
Dessert
Main Course
Side Dish
Snack
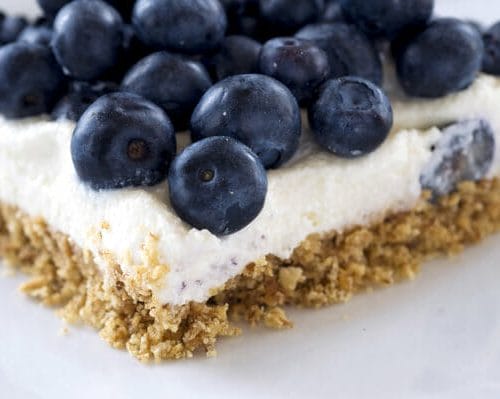
Blueberry Cheesecake Fluff Bars
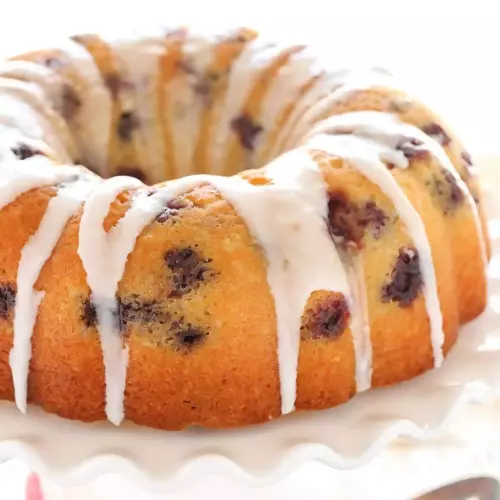
Blueberry Mini Bundt Cakes with Lemon Glaze

Chocolate Banana Pops
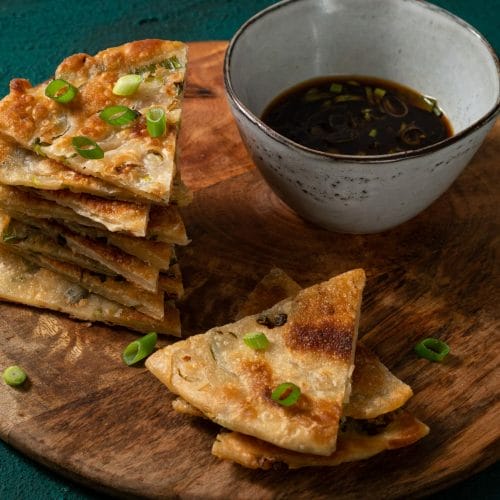
Chinese Green Onion Pancakes
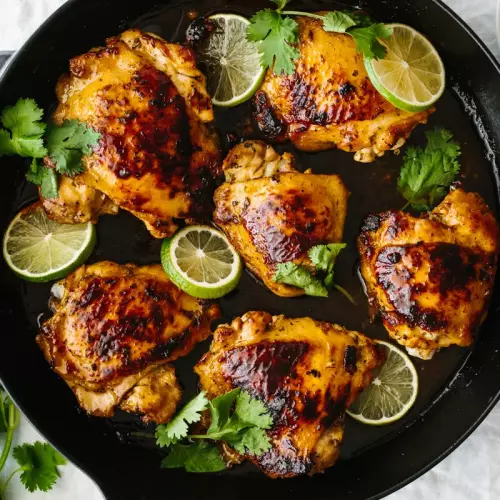
Cilantro Lime Chicken
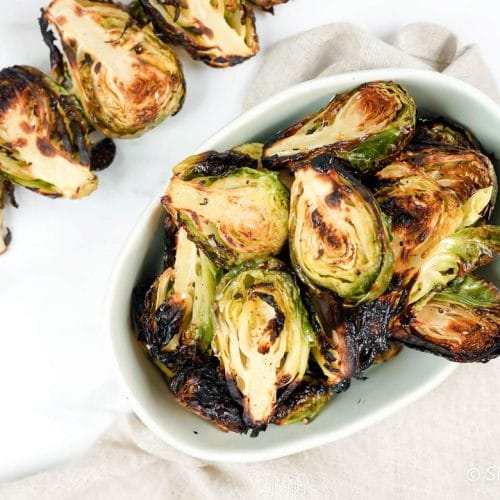
Grilled Brussel Sprouts
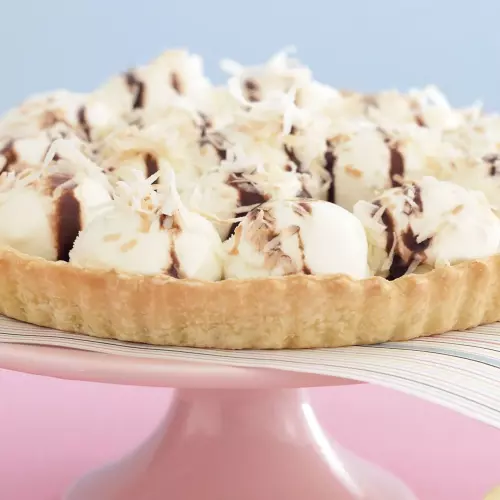
Sweet Shortcrust Pastry

Tie Dye Cupcakes with White Chocolate Frosting
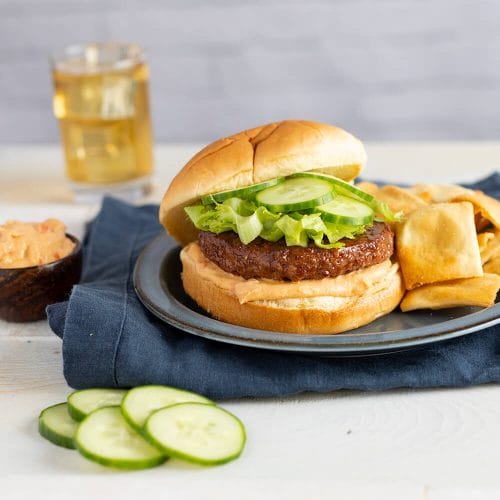
Roasted Pepper Quinoa Burger with Red Pepper Hummus
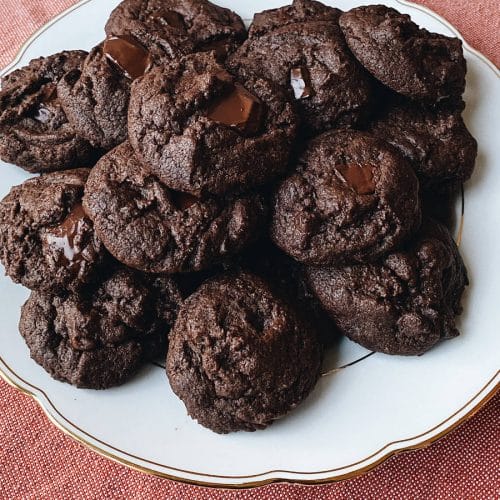
Espresso Double Chocolate Chip Cookies
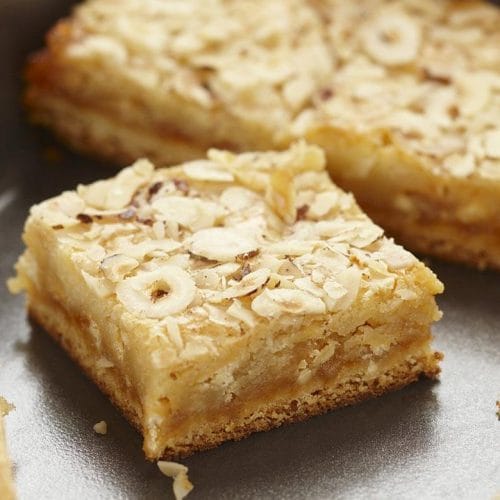
White Chocolate and Apricot Squares
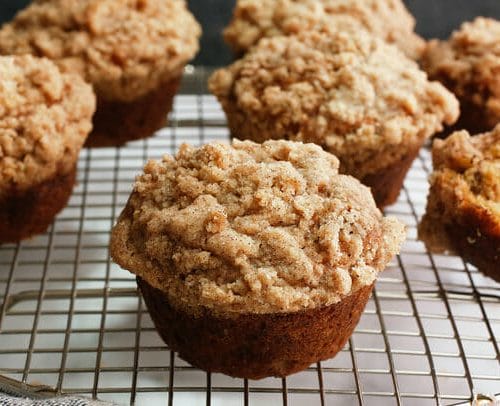
Banana Coconut Walnut Muffins with Coconut Oat Streusel Topping
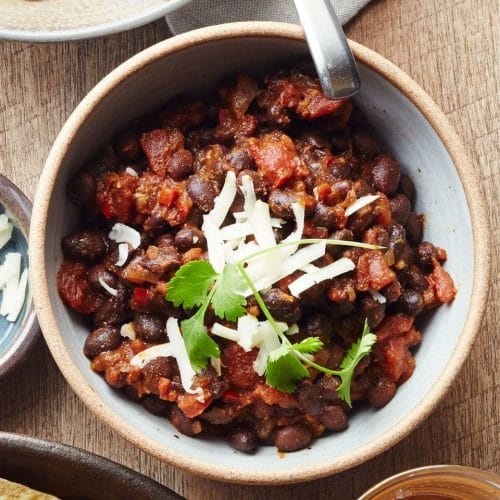
Easy-Beany Vegetarian Chili
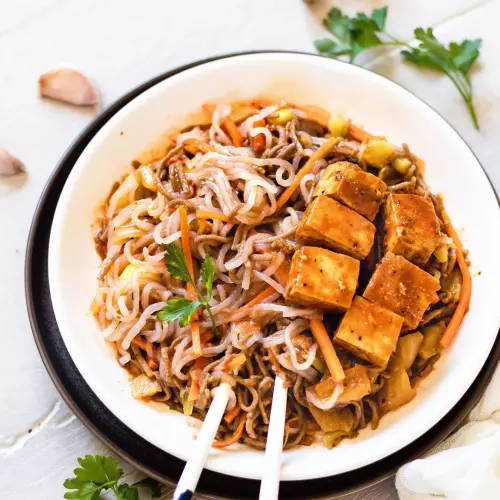
Shiritaki Healthy Stir Fry
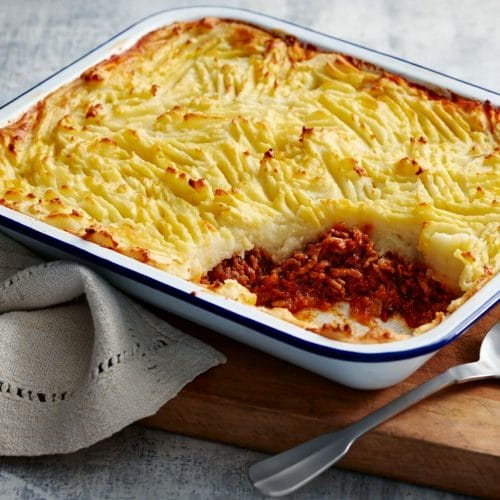
Shepherds Pie
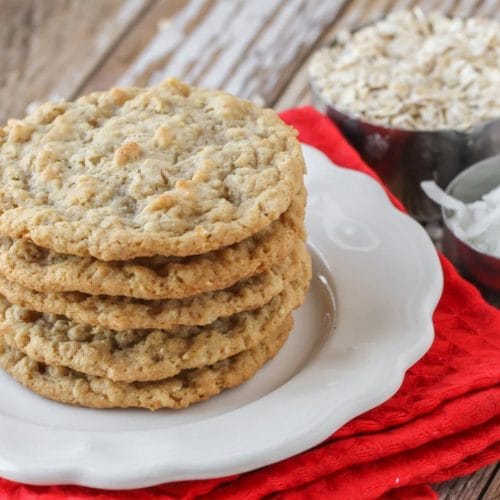
Killer Oatmeal Coconut Cookies
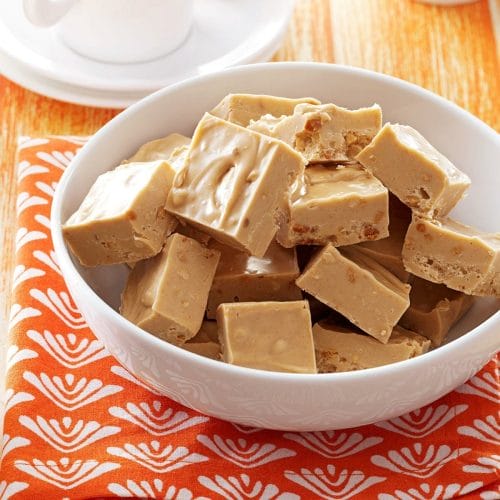
Peanut Butter Candies
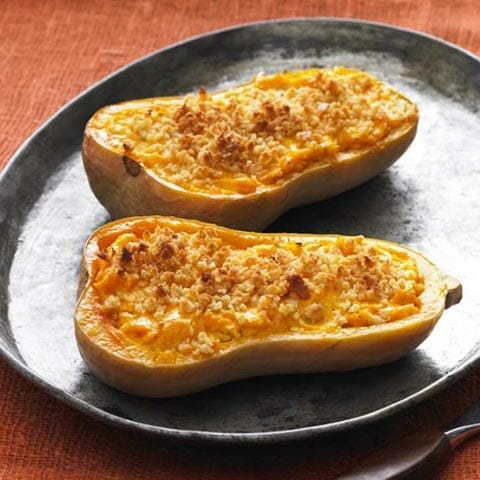
Fiscalini Cheddar Risotto stuffed Butternut Squash
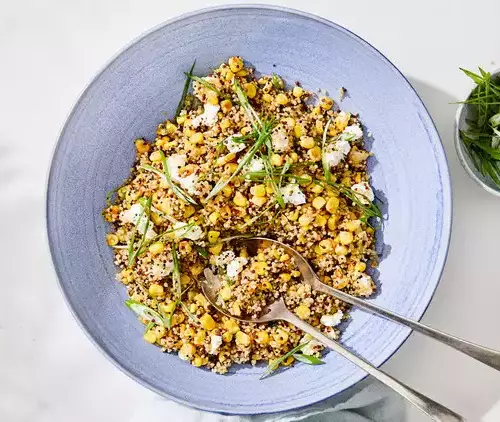
Caramelized Onion and Corn Quinoa

BBQ Chicken stuffed in a loaded Baked Sweet Potato